This post was written by Mary Elizabeth O’Toole
Organizing a creative work space can be a challenge. Keeping it organized even more so. Even when everything has its place, there are often times when not everything is in its place. At any given time there might be projects in different stages of completion, tools that were recently used or in are need of attention, a basket for cut offs needing to be emptied and sorted, note books and reference material for inspiration, and/or new gadgets or supplies not yet given a home.
I have managed to break the habit of buying new storage solutions without a definite plan for their use but not before accumulating containers of a variety of sizes and configurations that then add to the clutter. Some of those have already been sent to new homes. Several others are destined for the same fate. They will not be replaced until I have reduced the extras and have a plan for any new bin, box or shelving unit that I want to acquire. Once I reduce and reorganize, I might pick up a few more containers to fit an identified need. For now I am trying to make use of what I have.
With the goal of simplifying, I am in the process of reorganizing my sewing spaces, an ongoing WIP. My sewing space actually consists of two areas: about half of my upstairs office and a smallish (about 7’x7’) space by the stairs to the basement. Sometimes I spread out to other areas like the hall table. In my office (aka “studio”) I have a 3′ x 5′ table for my sewing machine, two plastic stands on wheels, and closet about 3 ½ feet wide. The office closet has been pretty well full with paper-craft supplies, which I am slowly selling (although if anyone has a suggestion for where I could do that quickly for a reasonable price, I am definitely open to ideas). I want to organize differently to better support my current projects, mostly in quilting and increasingly mixed media.

A small portion of the paper craft supplies that I’ve accumulated. Now that I do all my albums digitally, I need to clear this collection.
The downstairs space has my cutting table and some storage area where I keep my useable scraps as well as stabilizers and interfacing. The cutting table, by the way, is awesome and one of my smartest purchases. I bought it from Adam Eddy at Eddy Crest Sewing Furniture based in Woodstock, Ontario. I highly recommend their products.
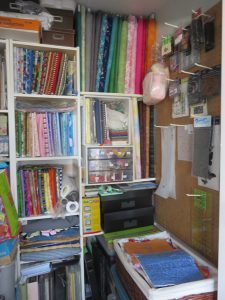
I have replaced the stacks of papercraft supplies with folded fabric. I recently went to a going-out-of-business sale at a nearby fabric shop and was able to acquire a few bolt holders. This was a chance to put those into use for organizing. On the smaller shelves, I have used comic book cardboards to hold fabric. I like having more of the fabric out of containers where it is visible and, therefore, more likely to get used.
I have been doing well on my strategy of only buying supplies that I need to finish an ongoing project or fill gaps so I have been reducing the supply but it still needs work. It also requires considerable restraint to not keep adding. For example, at the aforementioned sale, I purchased only a few meters of light batiks to address a current gap in light values for planned colour play projects. To balance that acquisition, I put some fabric in a bag for donation. While folding, I also selected fabric to make into cuddle quilts contribute to the Mahone Bay Quilters Guild donation drive. The result is much improved. You’ll have to take my word for it since I was so eager to get started on the sorting that I neglected to take pictures.
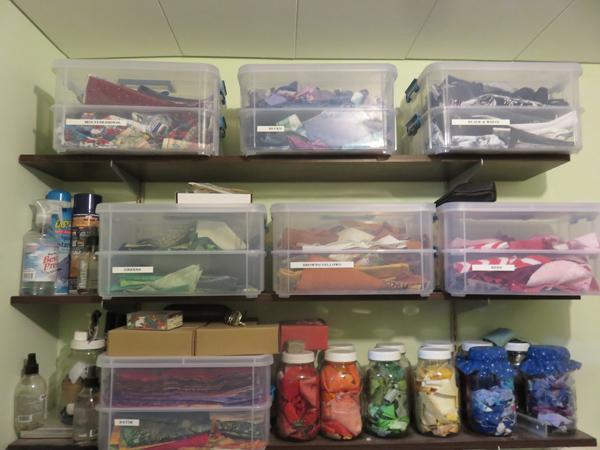
In my cutting room, I have a shelves over the table for scraps and cut strips, sorted by colour, as well as some supplies for ironing.
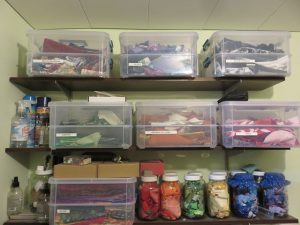
Bins for small pieces and cut strips or squares; mason jars with small scraps. Some jars have reusable covers that were leftover from a production of covers I made for gift preserves. I didn’t have all the colours to match. Something to add to my list.
Creative studio solutions
When planning your workspace, you really have two options: Make the space work for your projects or make projects that work in your space. Either way, you want to keep your materials and supplies organized and accessible and leave room for creative experimentation and design.
- Bring some of your supplies out in the open as a colourful feature. Use open shelves, display walls, hanging boards or stackable containers
- Use an antique or chest to create an attractive furniture storage solution, especially in a small space
- Add colour with rotating samples of your work on the walls
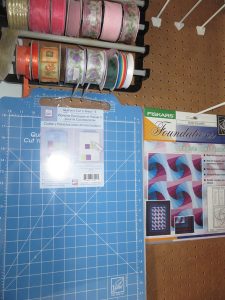
- Use peg boards and/or magnetic strips to hang some of your gear near where you will use it
- Colour coordinate for both materials and for storage solutions. Using one colour for ribbons, another for beads not only looks good but helps you to find things faster
- Build in clean-up time at the end of each creative session. Gather up little bits and put them in a collection basket, put scissors back on the rack, return bolts to the shelf…. Make it easier to find things next time and have a workspace that is ready when you are hit by creative inspiration
- Add a friendly pet as décor. A cute sleeping cat or dog can do wonders for the soul and the creative spirit
Know Your Style and Embrace it
How you organize will depend on your space, your creative process, your work style and the type of art you make. What works for one person might feel chaotic or stifling for someone else. Find what works for you – and accept that it will probably be an evolving process that requires a periodic update, and maybe a few days of focused attention. The good news is that when it is done, it feels like a whole new space and that is always inspiring. Happy creating.


Recent Comments